Alcohol Marker Coloring and Background Madness

When I started planning this card, I thought the coloring would be the worst part - I was so wrong! But I’ll start at the beginning.
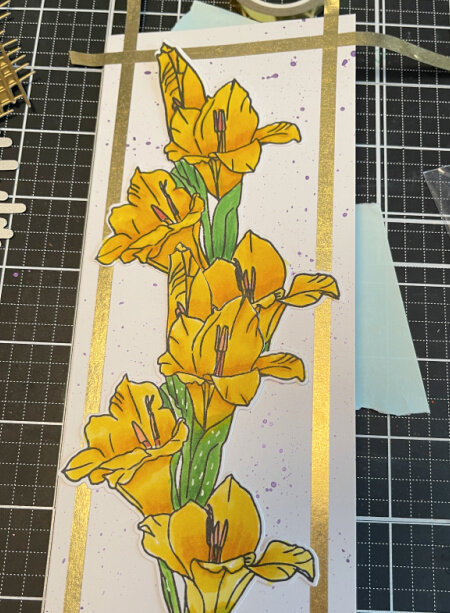
After finishing the Alcohol Markers class, and watching a lot of Altenew videos, I finally got a handle on coloring with this new (to me) medium. I thought the Hello Gorgeous stamp set would be fun to color. I’ll be completely honest, I thought they were Cala Lillies, so I colored them from a photo of lilies, only to find out later they weren’t lilies! Luckily, Gladiola can also be yellow!
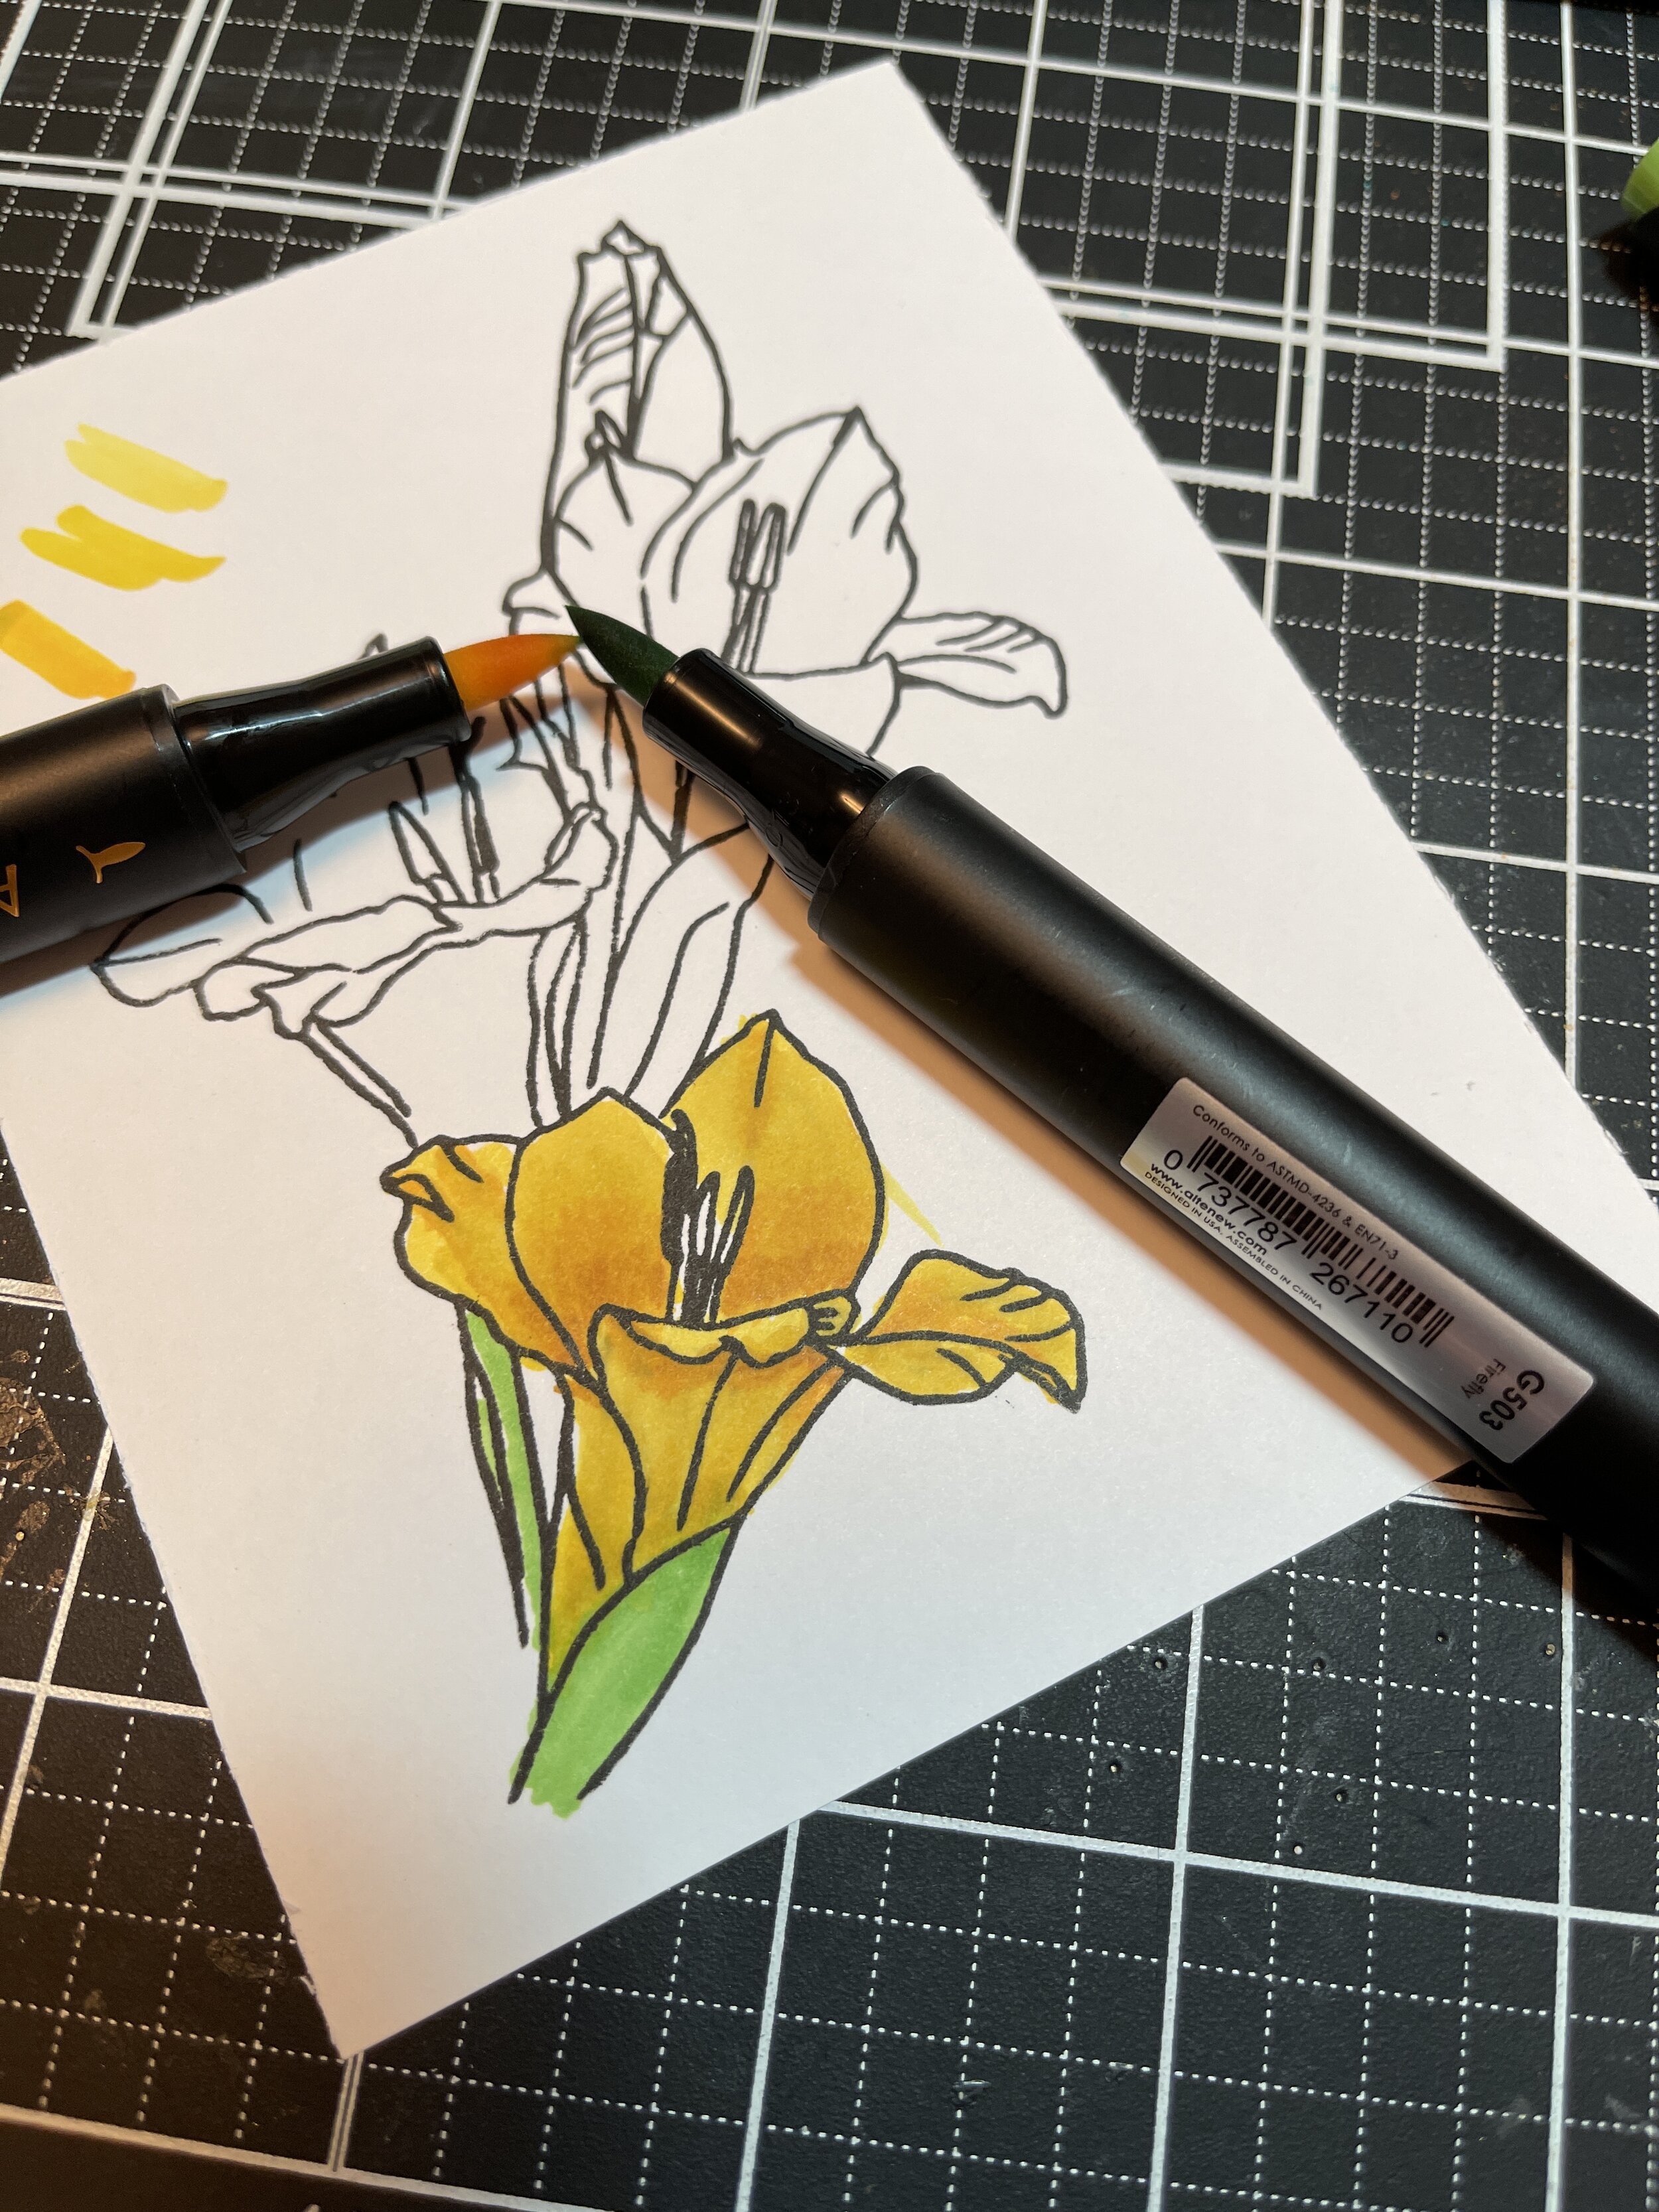
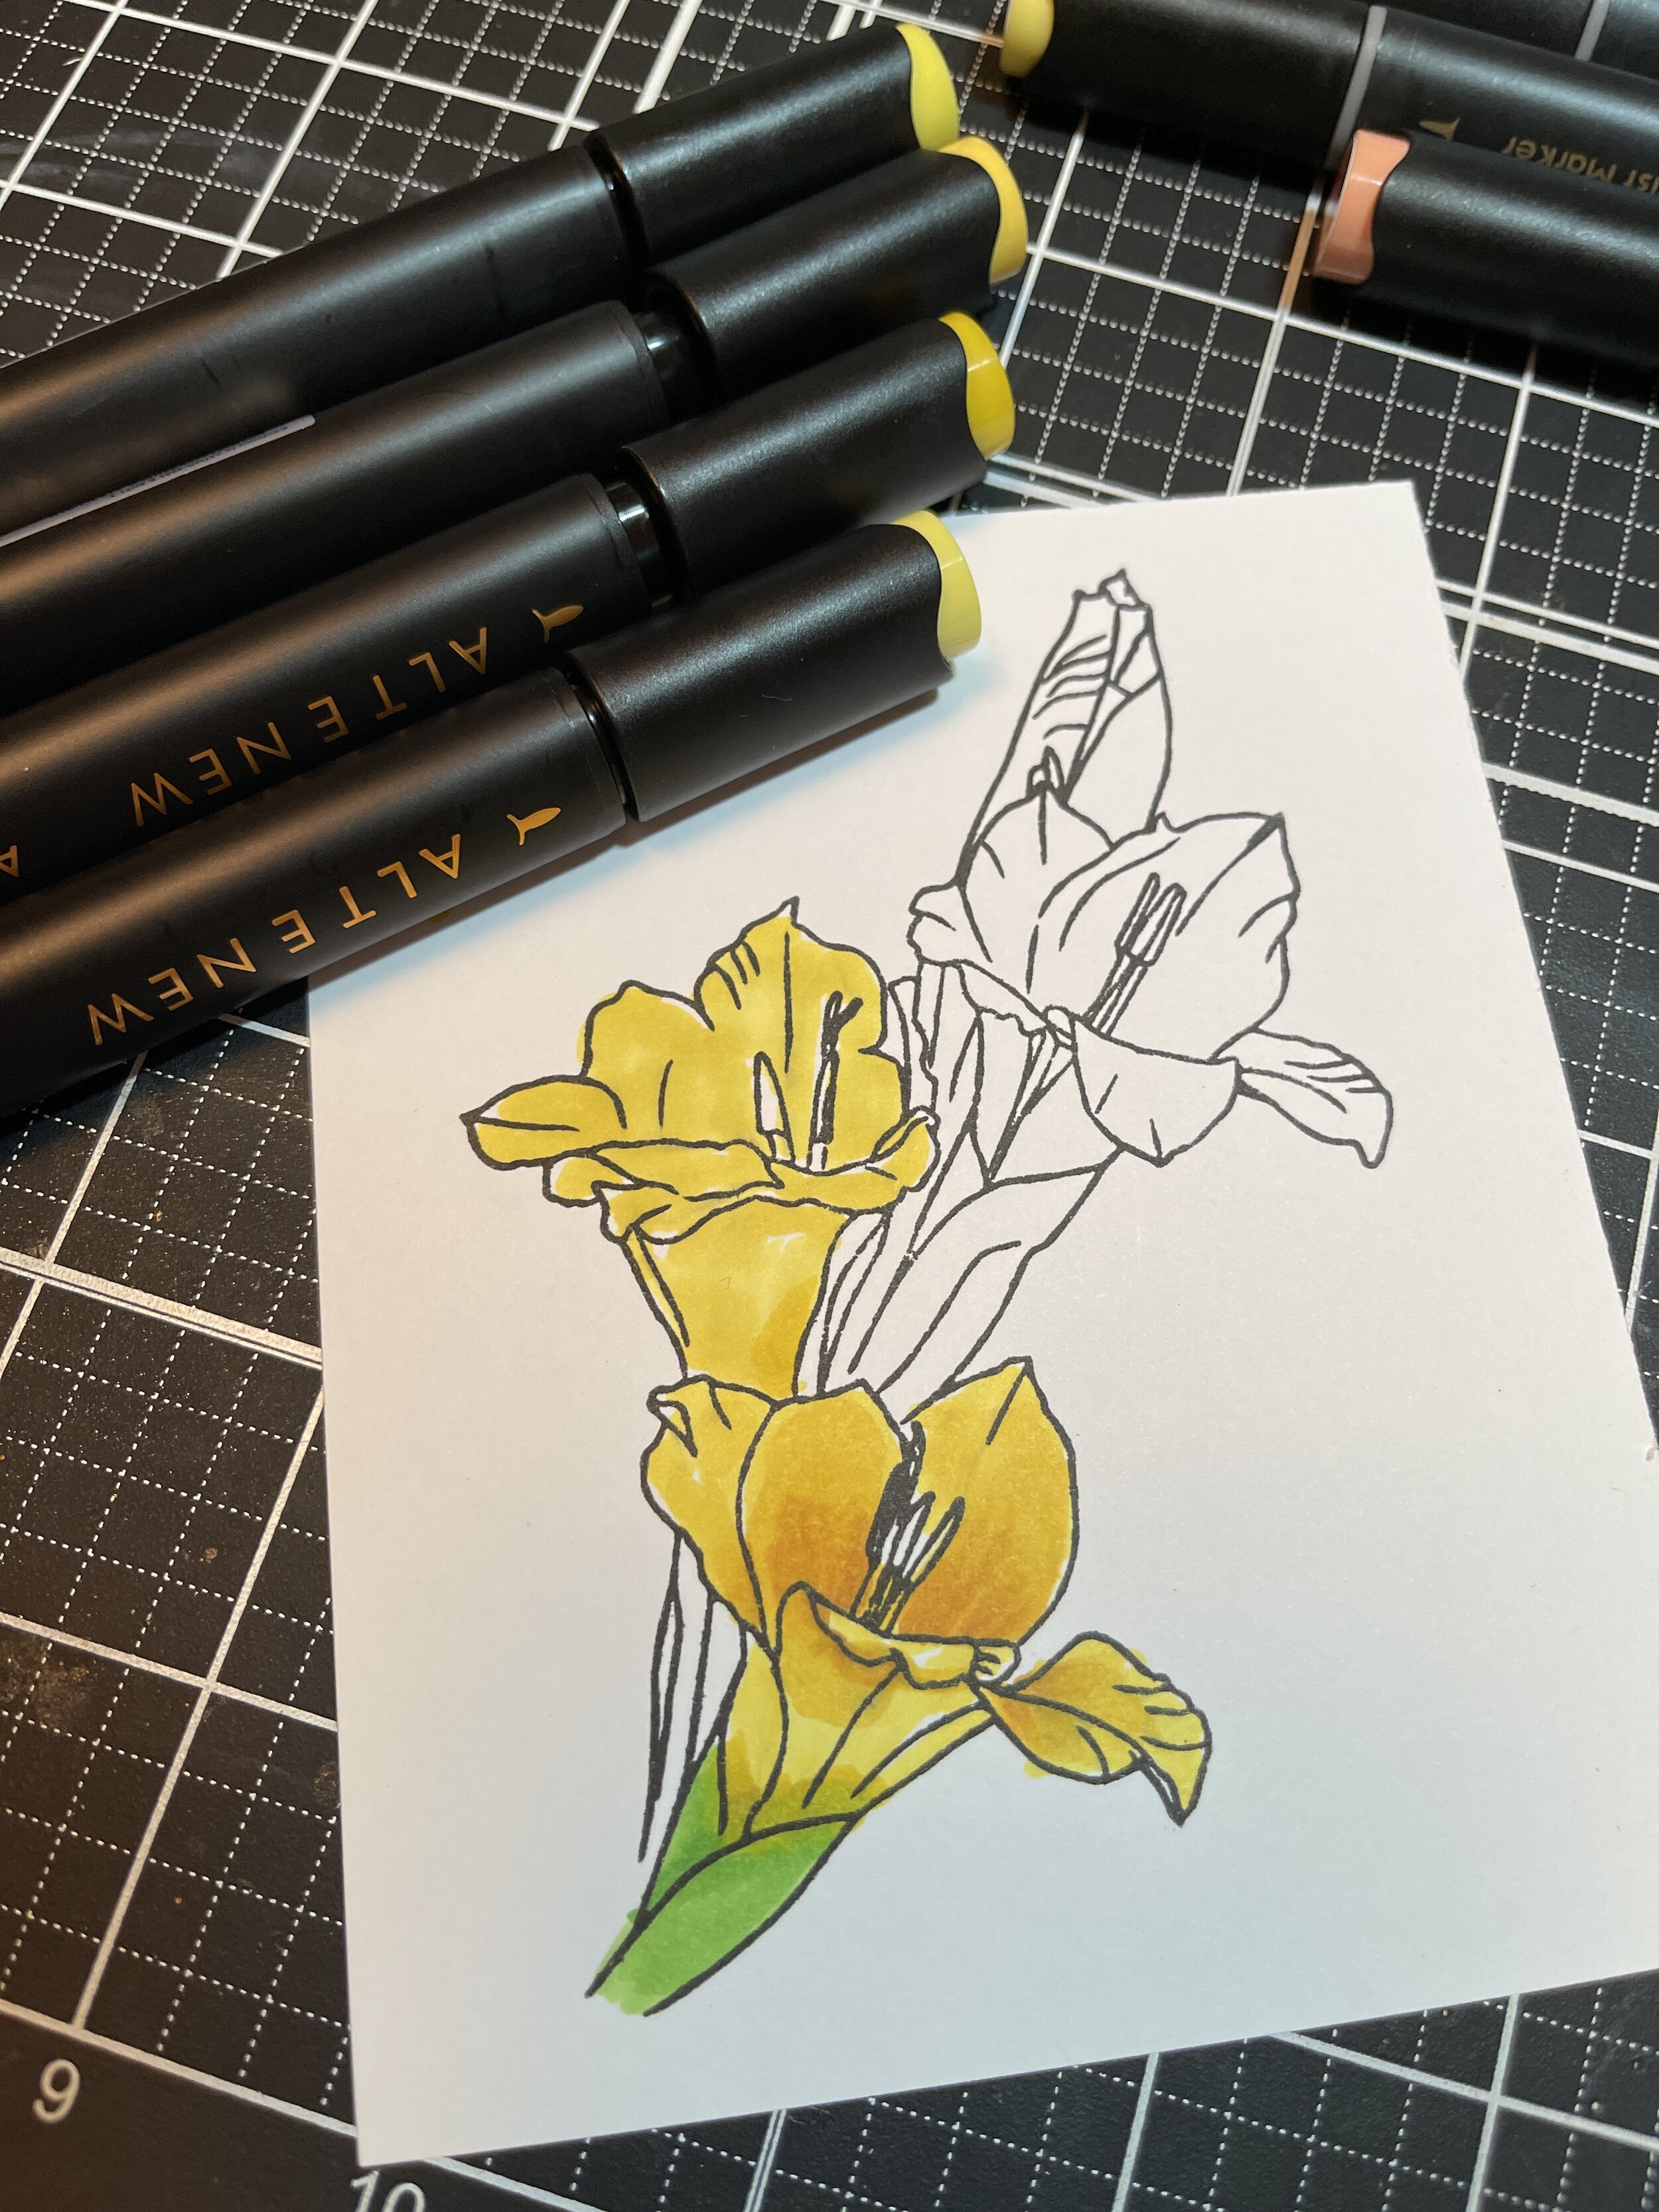
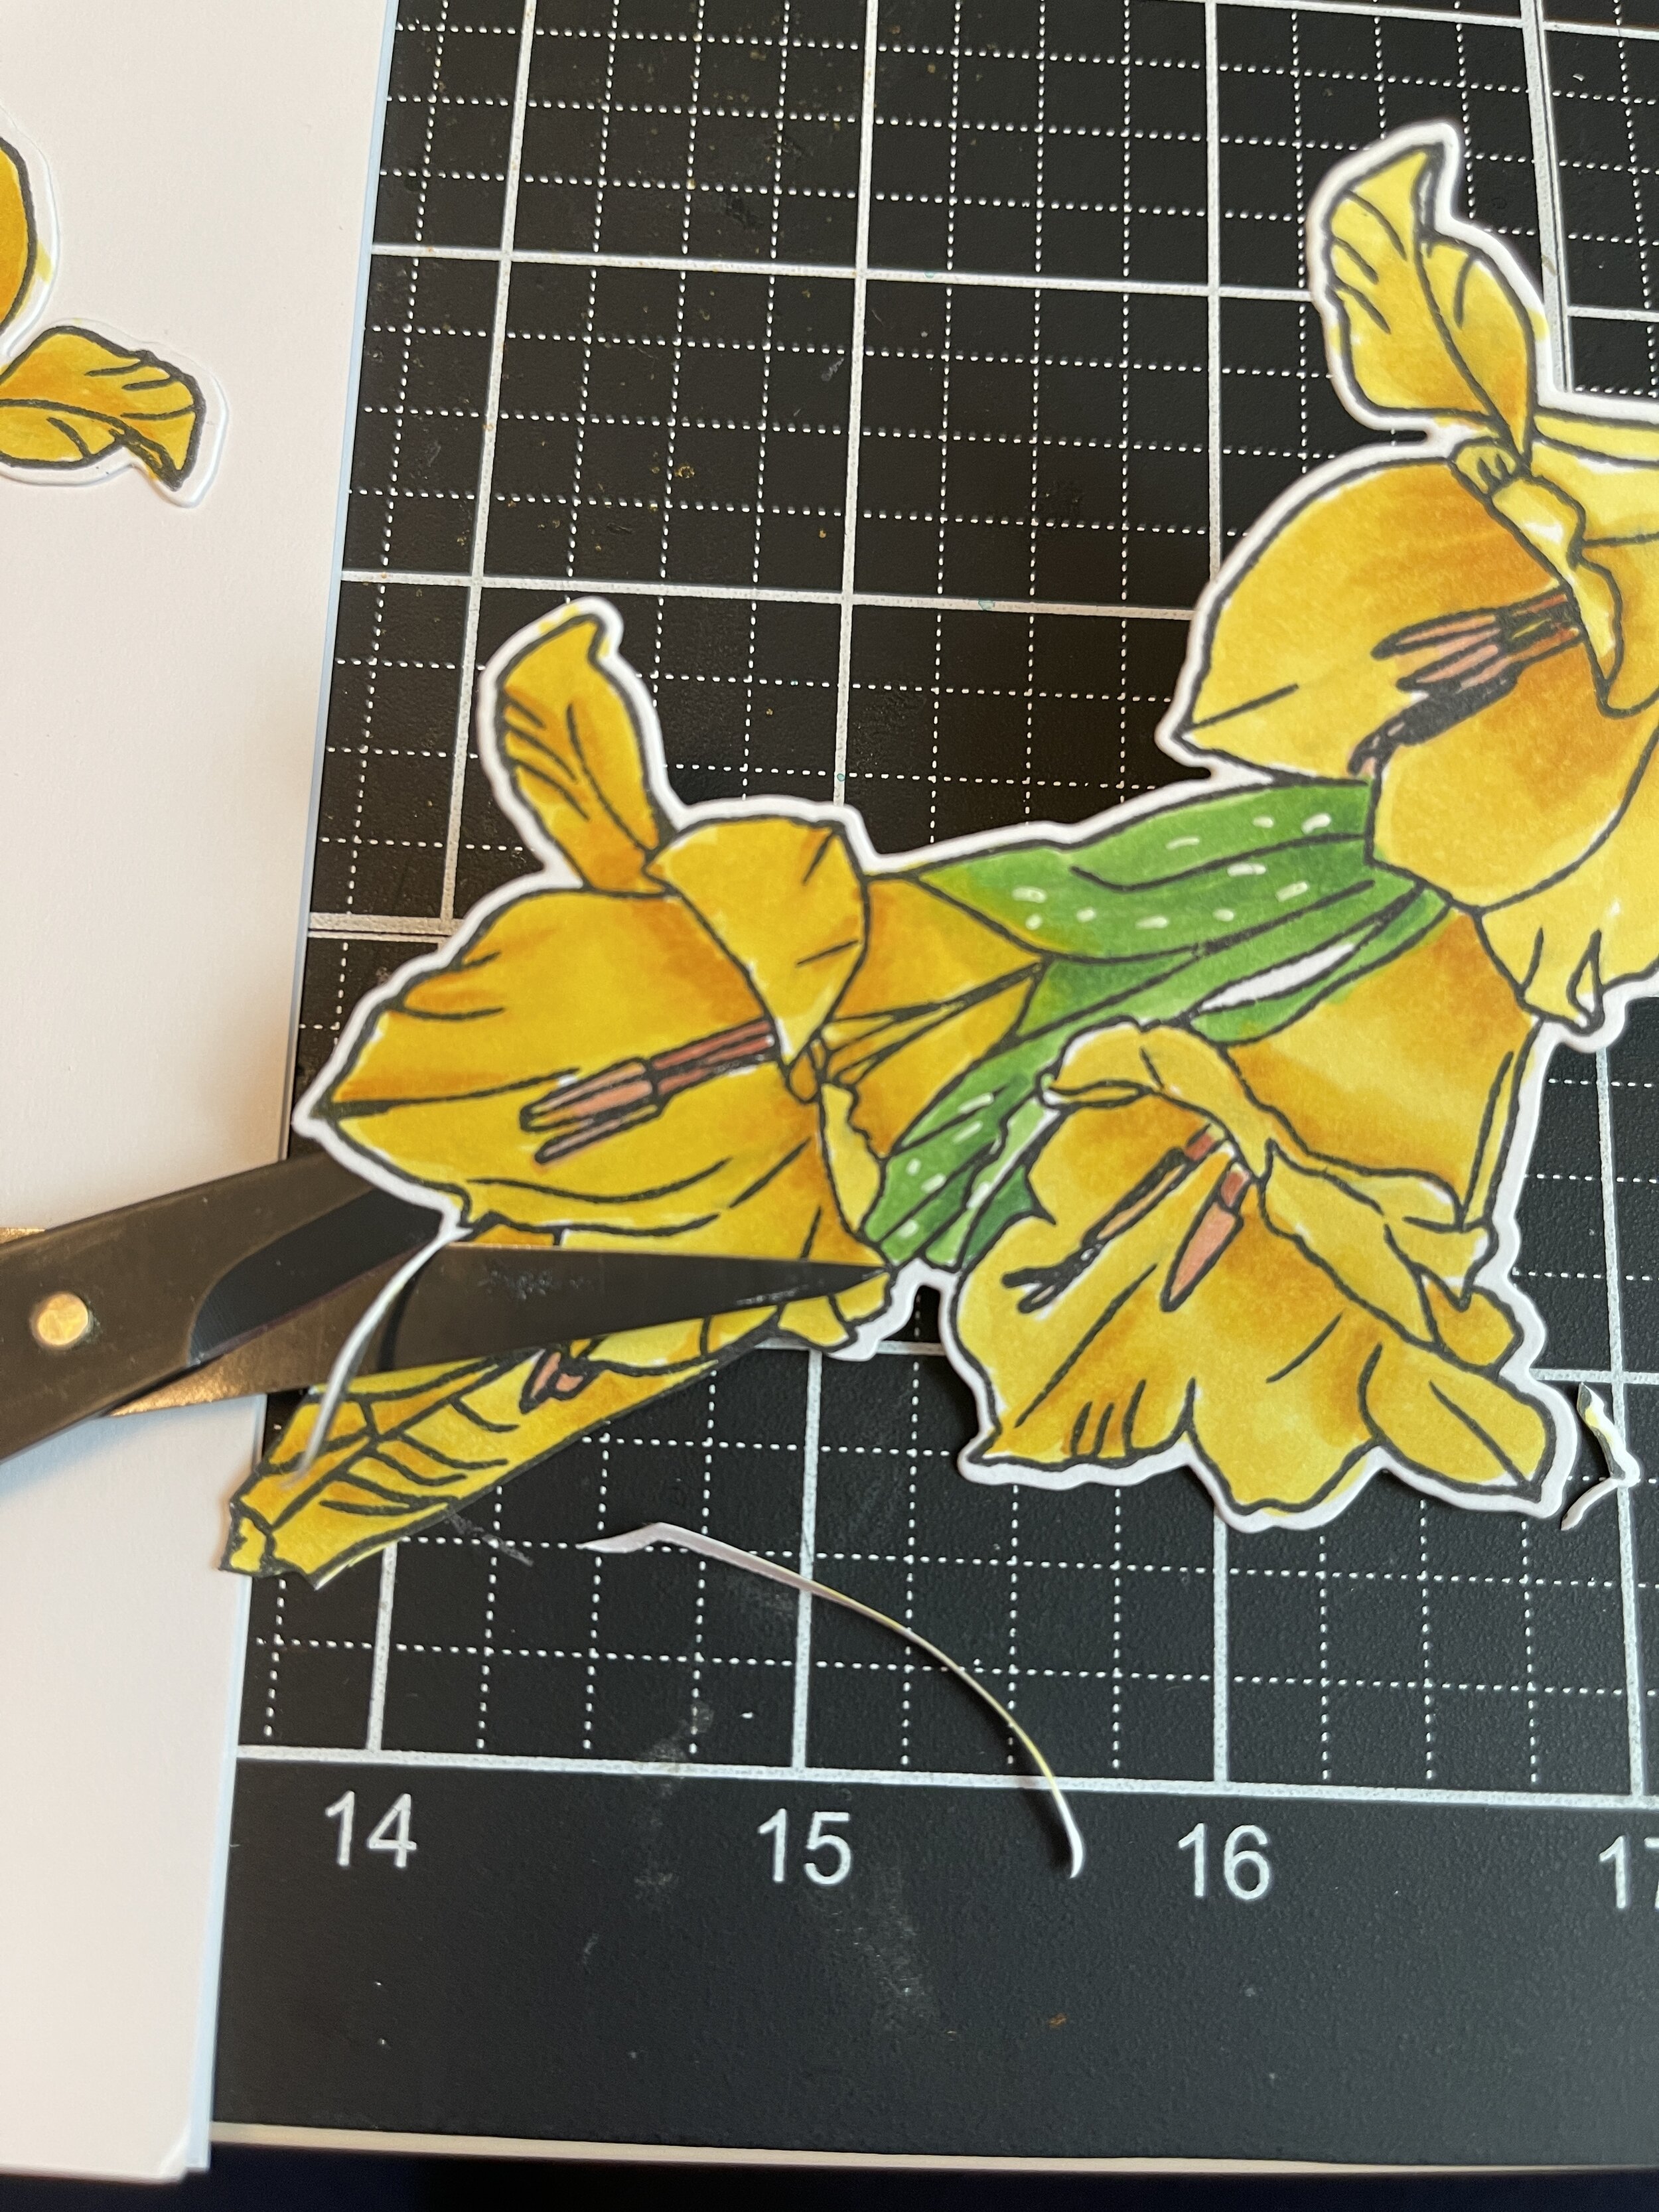
If you look at the first photo, you’ll notice that I tested out some colors on the left side of the paper - always a good idea. I learned that part of my problem was that I didn’t work the color enough, and I didn’t keep blending while the ink was still wet. I got fancy and used a tip-to-tip technique to add a touch of green at the bottom of the flower called the sepal (yes, I googled it). Once I die cut them and decided to layer one flower over the other, I was really bothered by the white edge on the bottom flower. I decided to fussy-cut the places where the two flowers overlapped.
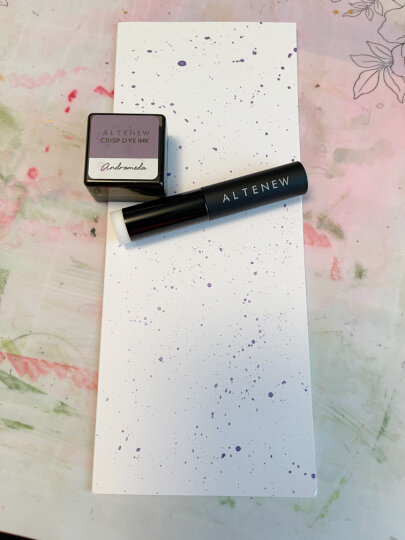

Then the fun really started! I could not decide on a background! I tried purple splatter, then I thought maybe I should add gold washi tape. Then I added black splatters - I didn’t even take a photo of that one!
I still liked the complementary combination of yellow and purple, so I decided to put the flowers on a white panel, then mount that onto a purple panel.

Now the card front looked too bare, and it needed some enamel dots.I knew I wanted to use black, and I thought yellow would look good. but the yellow dots I have aren’t the correct shade. But only for a minute! One of the hidden uses of Alcohol Markers is to change the color of enamel dots! A quick coat from the Honey Drizzle marker and now they match the color of the flowers!
I decided to keep the greeting simple, and went with a simple statement from the same stamp set. I white embossed the words on a black cardstock strip, and mounted it onto the card with some Instant Dimension Foam Tape. And stepped away.
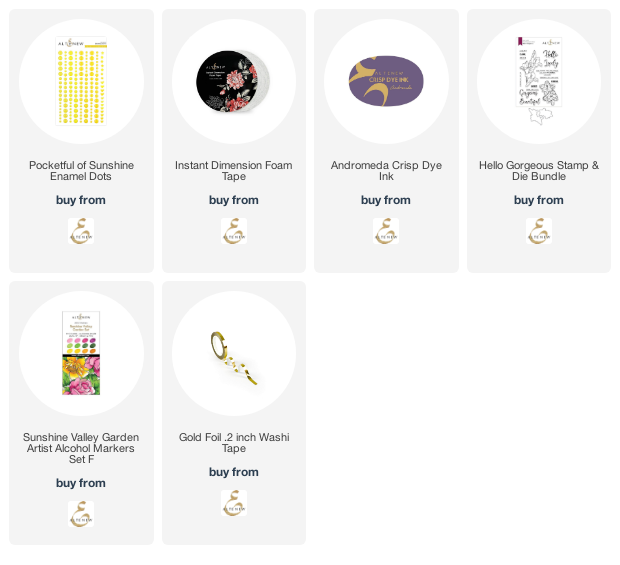
Below is a list of all the products I used for this card. If you click the affiliate link and purchase any of the products, I’ll get a small commission that I can use to buy more supplies and make more cards!

It was a long path to a finished card, and to think I thought the coloring would be the difficult part!
Thanks for coming along on this behind-the-scenes look at my creative process. It can be a pretty crazy place sometimes!
Until next time, take care and be kind -
Hugs,
Sue