
Masking Magic

There’s a technique called masking that gives depth to the stamped images. It’s not necessarily a difficult thing to do, however, it’s time-consuming. I began by stamping the outline of the Springtime Azalea Stamp set on a piece of thin paper with a sticky back called - wait for it - masking paper! I cut out the flower and removed the backing to reveal the sticky part.
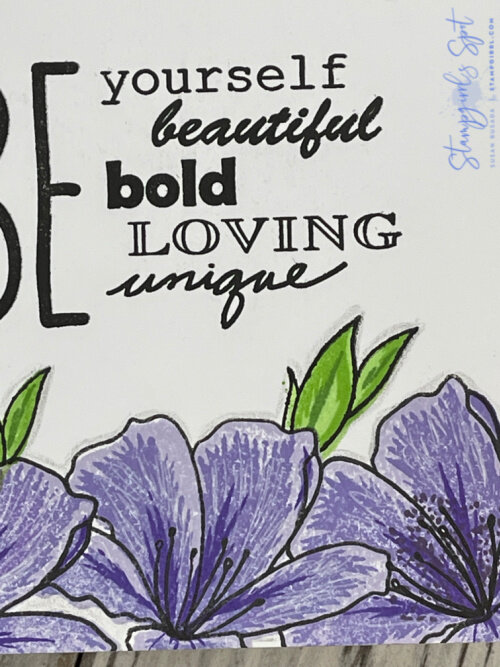
I stamped my first flower in the bottom left corner (all 4 layers), then covered it with the paper “mask”. I stamped the flower next to it (all 4 layers), then removed the mask. It made the corner flower look like it was in front of the second one! I repeated this across the bottom and up the left side. I added a single flower in the top right corner for balance. And I repeated the process to add the leaves.

I stamped the sentiment from a now-retired Altenew stamp set (one of the first I bought). I love this sentiment!
I decided to add one more thing, so I stamped another flower, and this time I used the die for my cutting. I popped it up with some of the new Altenew Dimensional Foam Tape.
After doing the stamping, I went back to the Beautiful Details class and added some lines with a white gel pen, and finished with my favorite trick ever - I outlined the flowers with a light grey pencil to give them a shadow.
And then I walked away!
Thanks for reading, and until next time
Take care and be kind,
XO
Sue