
Progressive Cardmaking
I’d prefer progressive dinners (am I dating myself?), but my last certification class is about progressive cardmaking. Basically, how to take a card from “nice” to “wow”. I thought I’d challenge myself and use the same card. Starting with something relatively simple, and moving to something that’s more complex. So here’s the final card, and then I’ll walk you through my process.

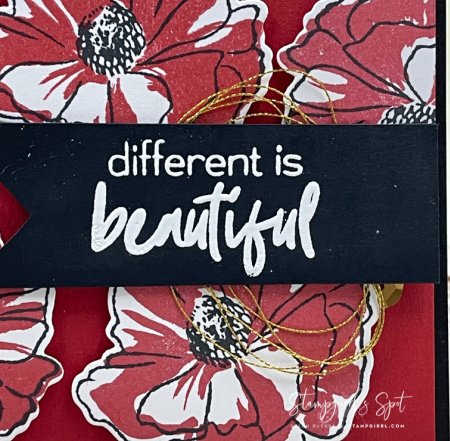
I used one of my go-to sets, Build-a-flower Anemone Coronaria. It’s a pretty simple layering set, so I thought it would be fun to see how far I could take it. I loved this saying from the Better Together stamp set, and I thought it would be fun to use with an idea I had for the flower set.
The first card was relatively simple, A single-layer card with just flowers and the greeting.

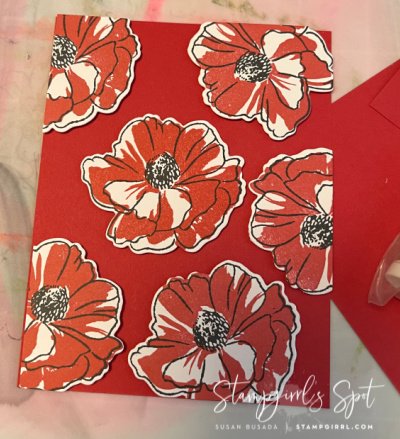
I wanted to step it up a little for card two, so I used the same card, and the same Velvet crisp dye ink, cut it to 4” x 5.25” (the standard A-2 card size is 4.25" x 5.5"), and mounted it to the matching Velvet Cardstock. Adding more color, and then layering onto a color cardstock stepped it up a little.
So now it was time to really step things up, and I thought I’d try a technique I saw online, I’d love to credit whoever posted it, but I can’t remember who it was.
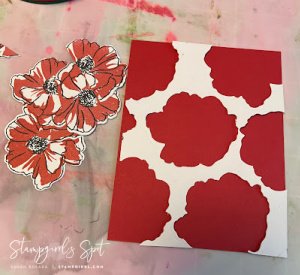
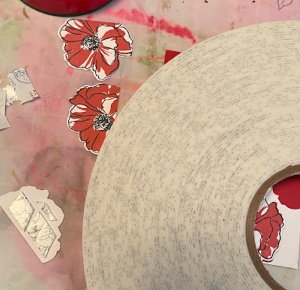
Using the matching anemone dies, I cut out each flower, careful to keep all the pieces, and the white card sheet as a template for the flower placement. I cut the red layer to match the size of the white one, then used removable adhesive to attach the white card template to the red. Then using the largest roll of foam tape anyone has ever seen (thanks Altenew!), I began adding the foam and placing the flowers back in their original places. The foam tape lifts the flowers off of the background and adds some texture. In retrospect, I might have added another layer of foam tape, but I wasn’t about to take the card apart for that.
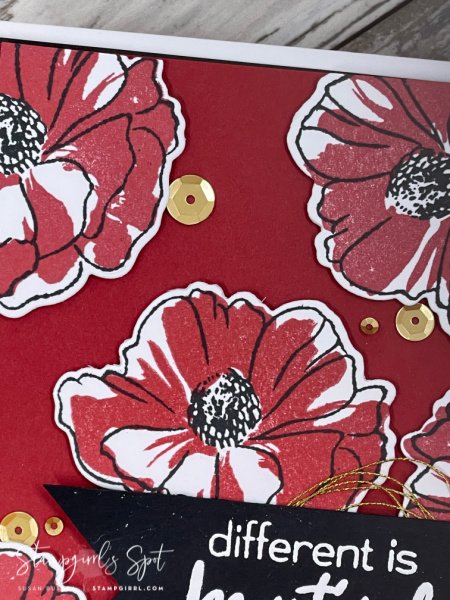
Now that I’ve managed to pull off the technique, it was looking very bland, and dying for embellishments. If you’ve been following my blog, rarely do you hear me say “it needs embellishment”., but this time I went all out (for me at least). I used some Satin Gold sequins and tucked them behind some of the flowers, to help move the eye from flower to flower.
Then I went WAY out of my comfort zone and used some Metallic Thread to make a “messy nest” to place behind the greeting. I could have used more thread, but again, I’m not taking it apart to make that change.
This was a really fun card to make, and came together quickly, even though you wouldn’t think it would. Definitely a technique I would try again!
Thanks for giving me part of your day, I hope you enjoyed it!
Until next time, take care and be kind,
Sue
XO