
Making it Classy

Teaching a class is the final step in my Altenew Educators Certification Program journey. Planning a class is a little like planning a child’s birthday party: worry about when you’ll have it, what you’ll do, who will come, and what favors you’ll give out.
I promised myself that I’d have my certification by the end of 2021, so I scheduled my two-hour class as soon after New Years Day as possible, Wednesday, January 5th.
I decided to teach a technique I discovered while I was playing around with alcohol markers. It’s a technique I used for my Level 2 Altered Project, and I was really excited about it! I sent off my idea, photos, supply list, and pdf instructions for approval, and as soon as I received that, I was ready to go! Now that I had a plan, I needed to find people who would want to try something new and different. Posting in the Altenew Fan Facebook group was the fastest, easiest way to fill seats in my class. I am so grateful for this community, where else would you find 6 people to sign up, sight unseen, to take a class with someone they’ve never heard of, doing something they’ve never heard of?!
I sent out copies of the supply list to the attendees and decided what supplies I would be sending them to assure they had what they needed to be successful and as a thank you for participating. I made gift packages with pieces of vellum, a translucent paper we would use for the flowers, double-sided adhesive paper to adhere the layers to one another, and a small spray bottle they can fill with alcohol for spritzing the inked vellum.
I was very excited about teaching, and, frankly, terrified about the tech part! As they say on TV, I tried to set up the tech and hilarity ensued! It’s a story for another day. Once I finally worked out the tech issues, it took a few minutes to regroup, but once I did, we were ready to go!
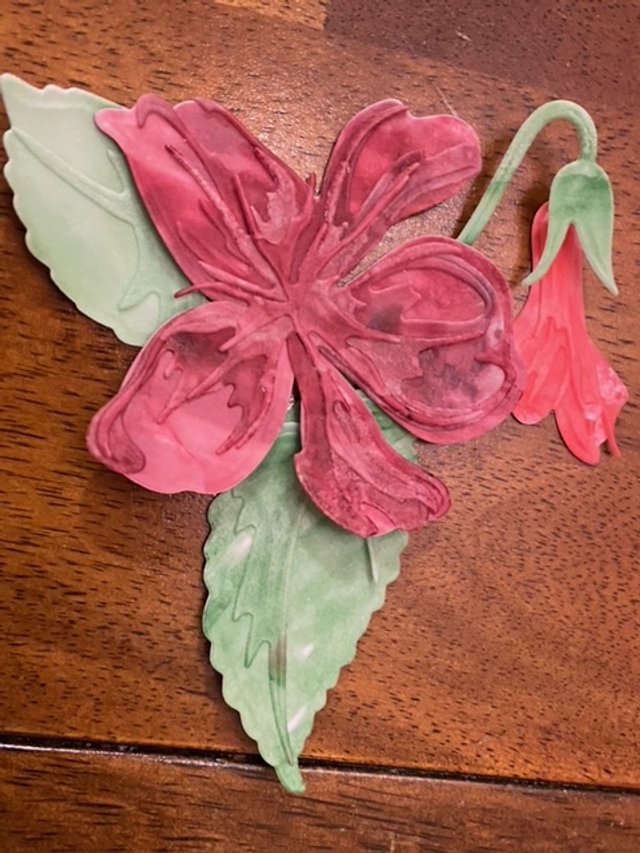
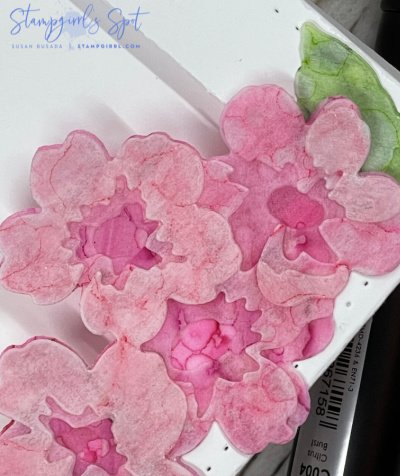
I led everyone through the steps: scribble (literally) the alcohol inks onto the vellum, then give it a spritz with alcohol. I explained the differences in the result between holding the spritzer close to the paper, and far away. Here’s the example:

I think everyone enjoyed the freedom of being able to scribble ink onto vellum, spritz it with alcohol, and wait for the results to bloom! I was excited to teach them another way to use their Alcohol Markers, and hopefully a new technique they would use often. The best part of the technique is that the result gives a bit of texture to the flowers, and adds a new level of interest to a layered flower, and the project.
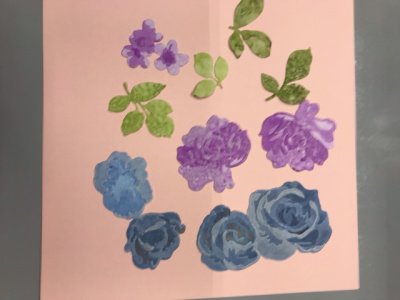
We walked through the steps a few times, and everyone was able to show some finished flowers. Coloring and layering the flowers depends on the creator. You’ll notice the flowers on the left use the darker color for the top layer, the ones on the right are the opposite. There really is no wrong way to do this technique!
While some of us ran out of time to finish the projects in class, everyone was able to send project photos. I’m really excited about how they all turned out!
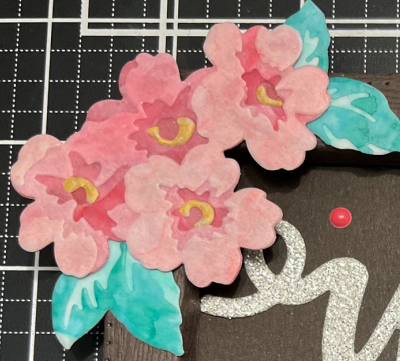
These are by Evette Jacobson, using the Hibiscus Garden 3D Die Set:

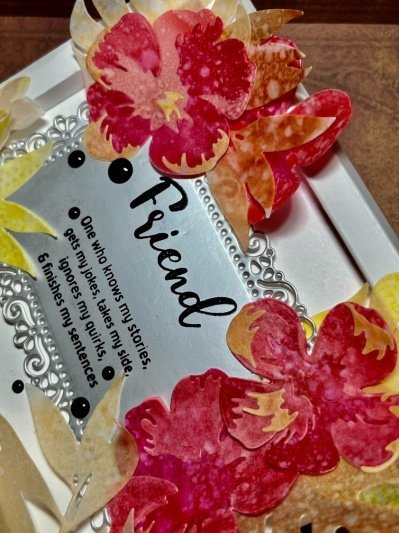
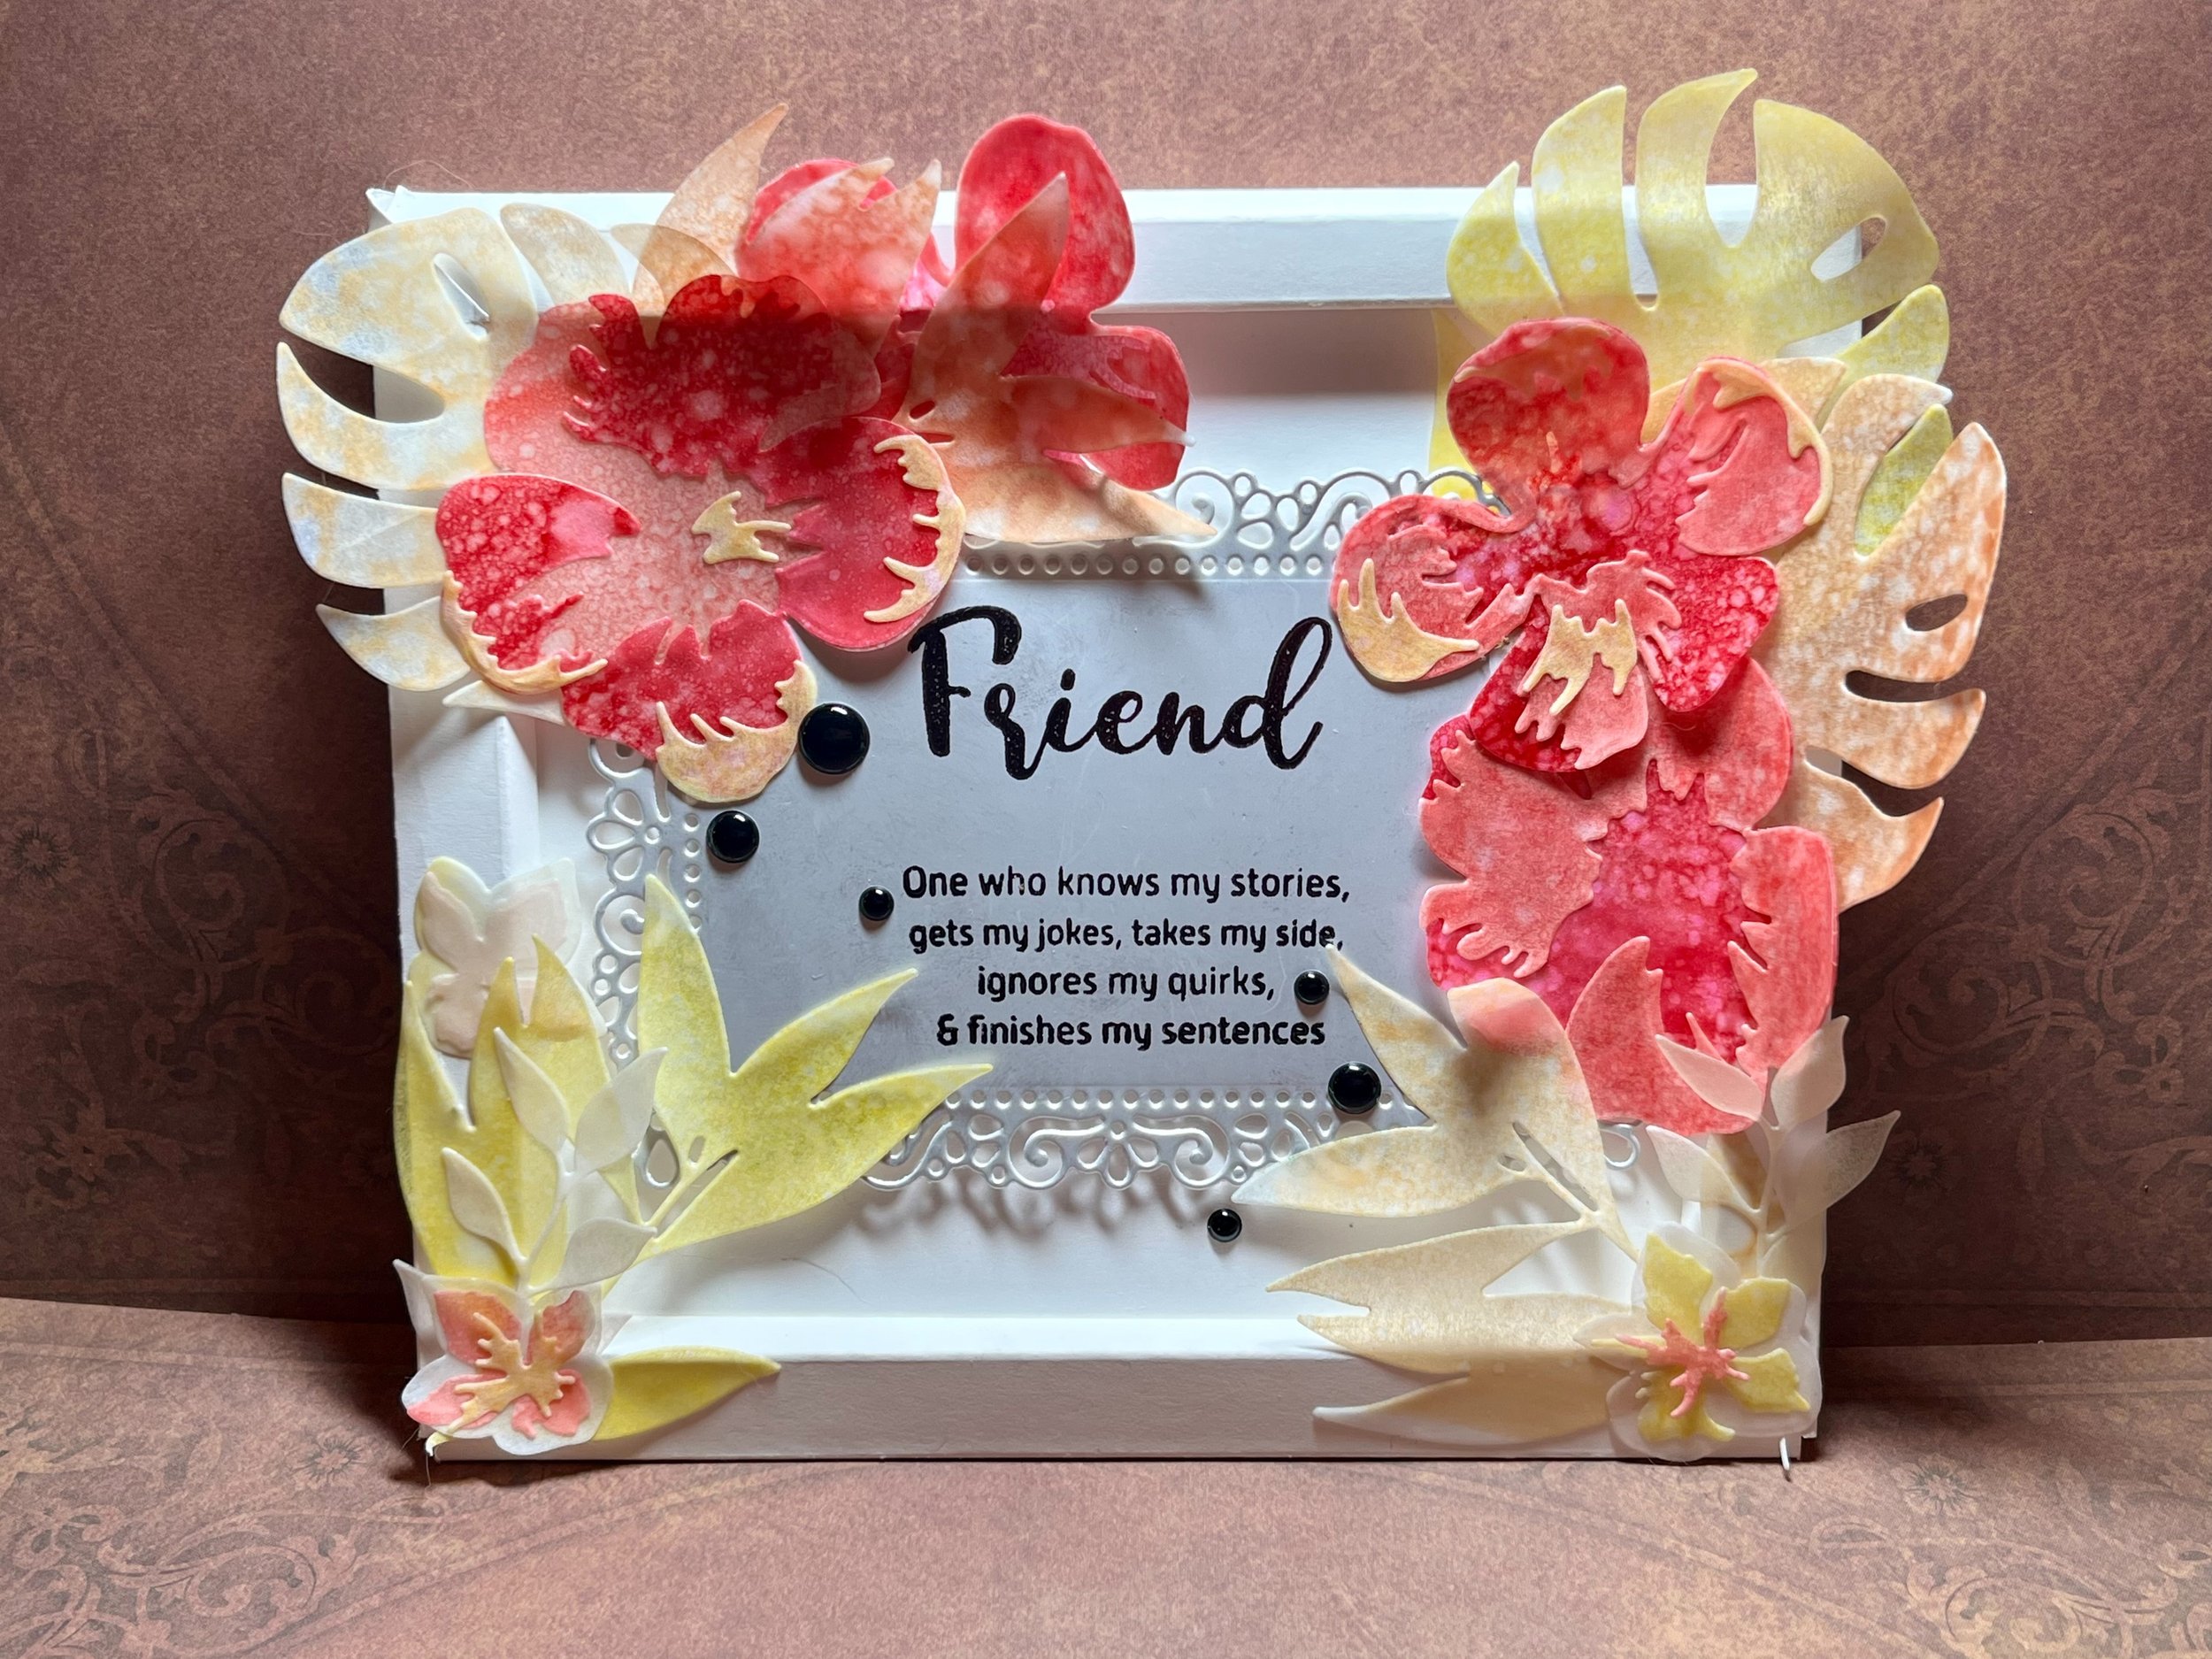
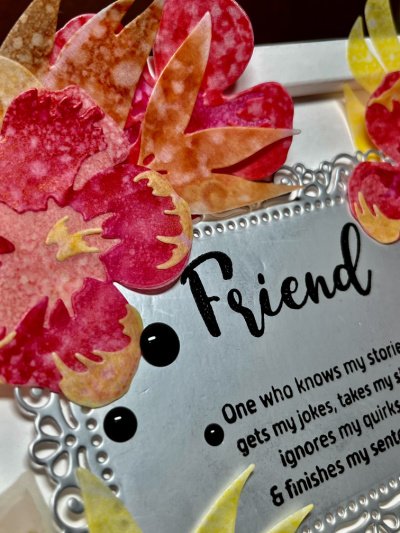
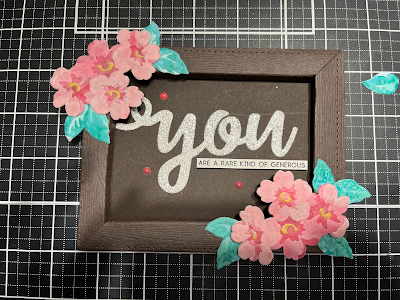
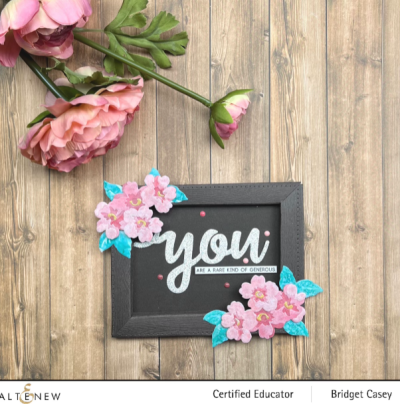
Bridget Casey gave me two pictures, one plain and one “fancy”:
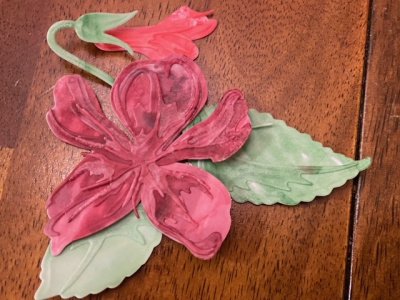
Vickie Davis enjoyed the technique so much, she made a bunch of flowers!

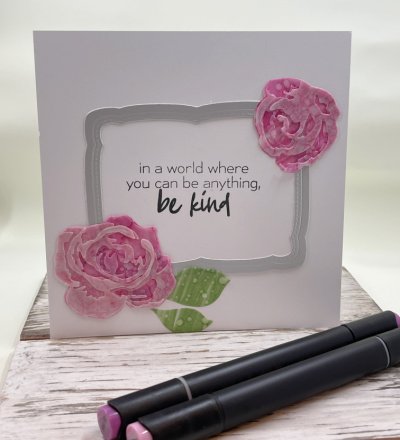
One of the good things about this technique is that it can be used on any layered floral die. Katy Arvidson used the technique with the Craft-a-Flower Sweet Violet layering dies:

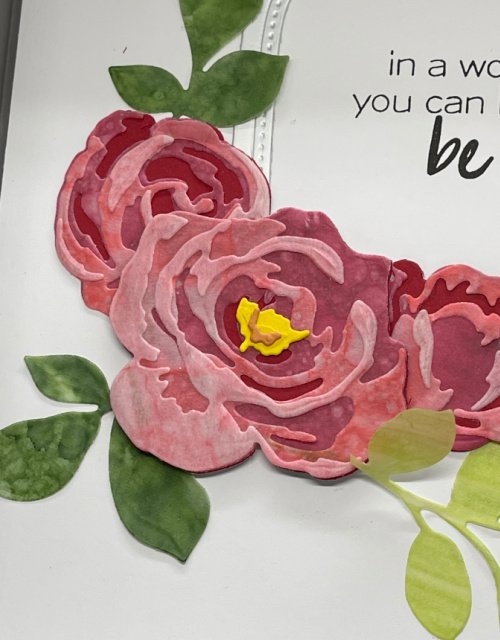
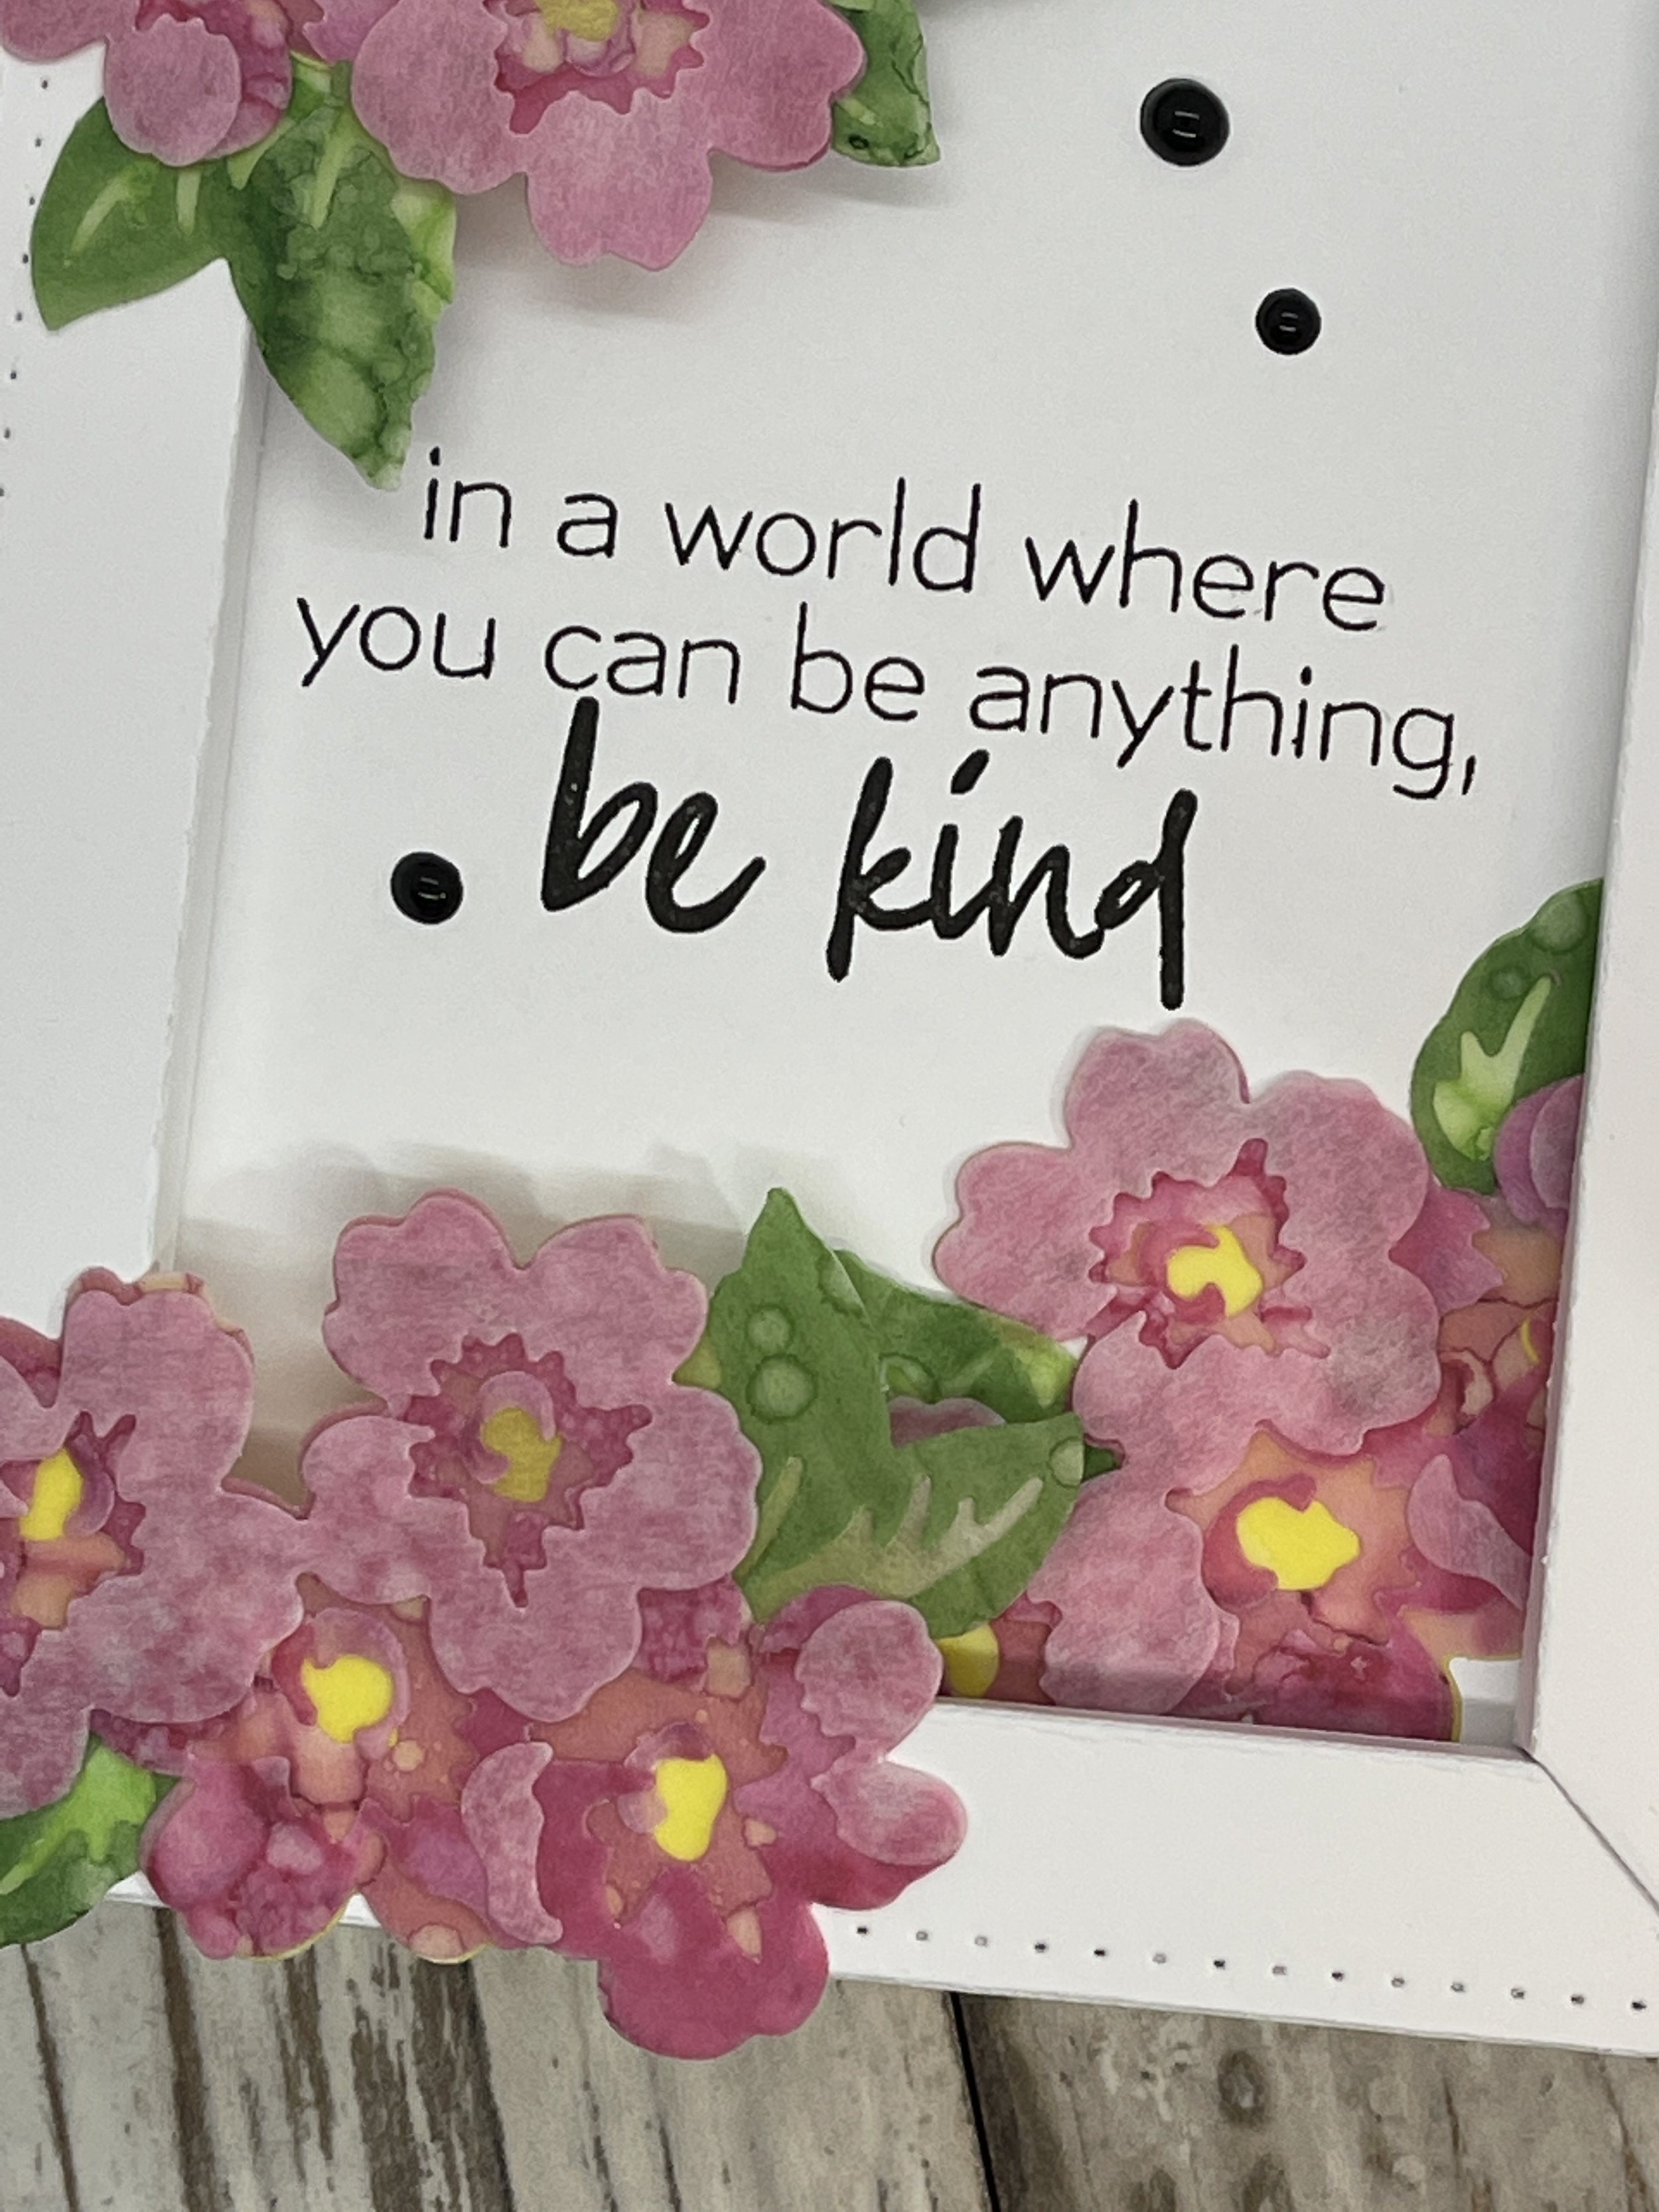
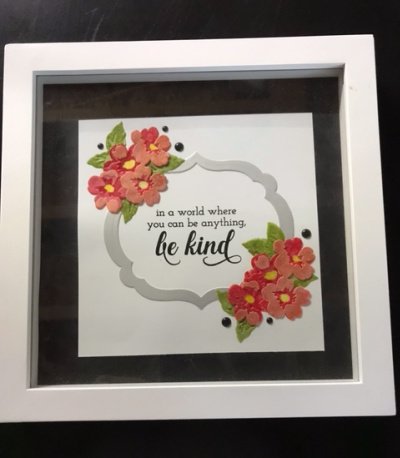
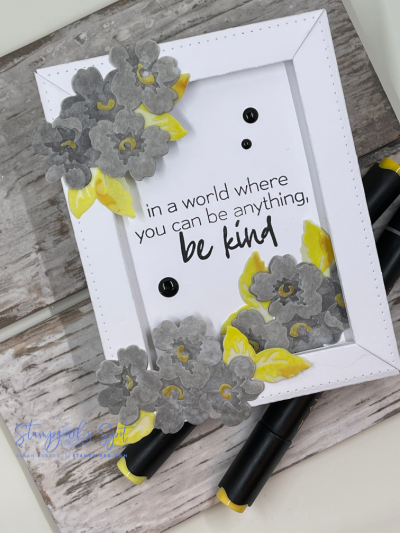
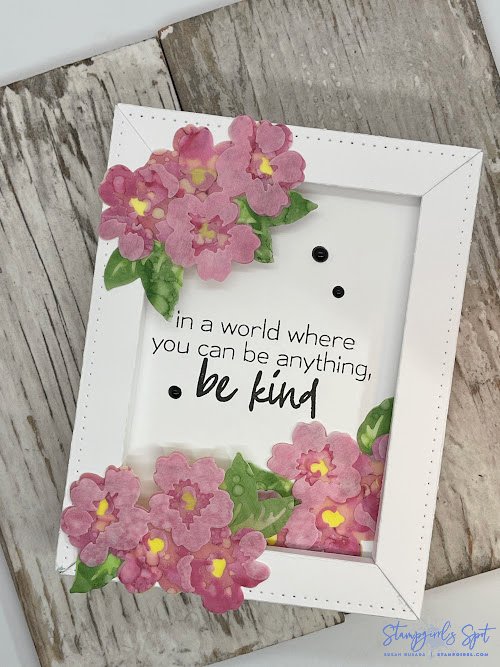
These are my two finished projects - the frame is in two different color palettes.
Teaching was a challenge, and I’m happy everyone grasped the concept, enjoyed the class and came away with some beautiful flowers and projects!
The AECP Program has been quite a journey, it’s gotten me out of my comfort zone in a lot of ways, I’m so happy that I became a part of it! Now let’s see what the future brings, regardless, stay tuned for more projects and more posts!
Take care, and be kind.
Hugs,
Sue